
Understanding the Process of Transferring ETH from Binance to MetaMask on the Ethereum Network
Transferring Ethereum (ETH) from Binance to MetaMask is a common process for many cryptocurrency users. Whether you’re looking to manage your ETH more securely or simply want to explore the decentralized applications (dApps) on the Ethereum network, this guide will walk you through the entire process step-by-step.
Setting Up Your Binance Account
Before you can transfer ETH from Binance to MetaMask, you’ll need to have a Binance account. If you don’t already have one, visit the Binance website and sign up. You’ll need to provide some personal information and verify your identity.

Verifying Your Binance Account
Once you’ve signed up, you’ll need to verify your account. Binance requires two-factor authentication (2FA) and may also ask for additional documents to verify your identity. This process is crucial for security reasons and ensures that your account is protected.
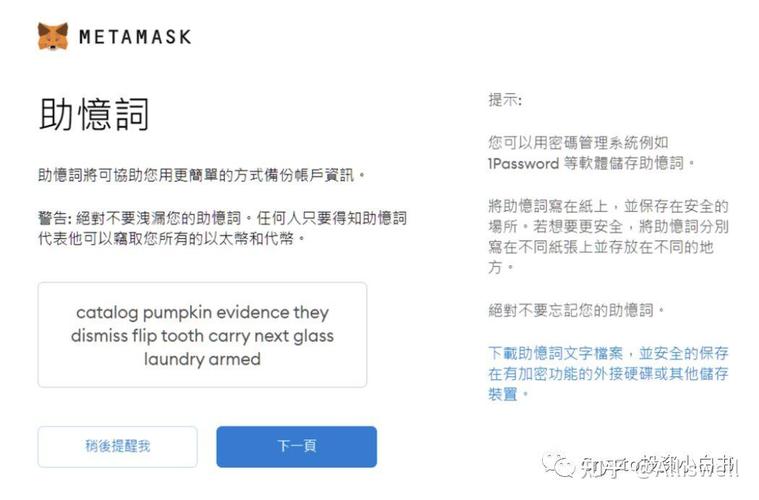
Creating a MetaMask Wallet
MetaMask is a popular Ethereum wallet that allows you to store, send, and receive ETH. To create a MetaMask wallet, visit the MetaMask website and download the extension for your preferred browser. Follow the instructions to create a new wallet and securely store your private key.
Generating Your ETH Address on Binance
Once you have both your Binance and MetaMask accounts set up, you’ll need to generate your ETH address on Binance. Log in to your Binance account, navigate to the “Funds” section, and click on “Deposits.” Find Ethereum in the list of supported cryptocurrencies and copy the address displayed.
Transferring ETH from Binance to MetaMask
Now that you have both addresses, you can transfer ETH from Binance to MetaMask. Log in to your Binance account and navigate to the “Funds” section. Click on “Withdraw” and select Ethereum. Paste the MetaMask address you copied earlier into the “To” field, enter the amount of ETH you want to transfer, and click “Submit.” You’ll need to pay a small network fee for the transaction.
Monitoring the Transaction
After you’ve submitted the transaction, you can monitor its progress on the Ethereum network. You can do this by checking the transaction hash on the Ethereum blockchain explorer. Once the transaction is confirmed, the ETH will be transferred to your MetaMask wallet.
Verifying the Transfer
Once the ETH has been transferred to your MetaMask wallet, you can verify the transfer by checking your wallet’s balance. Open the MetaMask extension and navigate to the “Assets” tab. You should see the ETH you transferred listed there, along with its current value.
Additional Tips
Here are some additional tips to keep in mind when transferring ETH from Binance to MetaMask:
| Tip | Description |
|---|---|
| Double-check addresses | Ensure that you’ve copied the correct MetaMask address to avoid losing your ETH. |
| Use a secure internet connection | Transferring ETH requires a stable and secure internet connection to prevent errors. |
| Keep your private key safe | Your private key is the key to your wallet. Never share it with anyone. |
Transferring ETH from Binance to MetaMask is a straightforward process, but it’s important to take the necessary precautions to ensure the security of your funds. By following these steps and tips, you can successfully manage your ETH and explore the Ethereum network with confidence.
")


