
Create Eth Wallet Offline: A Comprehensive Guide
Creating an Ethereum wallet offline is a crucial step for anyone looking to secure their digital assets. In this guide, I’ll walk you through the process, highlighting the importance of offline wallets and providing you with a step-by-step guide to create one. Whether you’re a seasoned crypto enthusiast or a beginner, this guide will equip you with the knowledge to safeguard your Ethereum holdings effectively.
Understanding the Importance of Offline Wallets
Online wallets are convenient, but they come with inherent risks. Hackers can target these wallets, and if they gain access, they can steal your Ethereum. An offline wallet, also known as a cold wallet, provides a secure alternative. It stores your private keys offline, making it nearly impossible for hackers to access your funds.

Types of Offline Wallets
There are several types of offline wallets, each with its own set of advantages and disadvantages. Here’s a brief overview:
| Type | Description | Pros | Cons |
|---|---|---|---|
| Hardware Wallet | Physical device that stores your private keys | Highly secure, resistant to malware | Expensive, requires physical storage |
| Software Wallet | Computer program that stores your private keys | Free, easy to use | Can be compromised if computer is infected |
| Paper Wallet | Physical paper with your private keys printed on it | Free, simple to create | Can be damaged, lost, or stolen |
Creating an Offline Ethereum Wallet
Now that you understand the importance of offline wallets and the types available, let’s dive into the process of creating one. In this guide, I’ll focus on creating a hardware wallet, as it’s considered the most secure option.
Step 1: Choose a Hardware Wallet
There are several reputable hardware wallets available, such as Ledger Nano S, Trezor Model T, and KeepKey. Research each option, read reviews, and choose the one that best suits your needs.
Step 2: Set Up Your Hardware Wallet
Follow the manufacturer’s instructions to set up your hardware wallet. This typically involves connecting the device to your computer, installing the necessary software, and creating a PIN.
Step 3: Generate Your Ethereum Address
Once your hardware wallet is set up, you can generate an Ethereum address. This address will be used to receive and send Ethereum. To generate the address, follow these steps:
- Connect your hardware wallet to your computer.
- Open the software that came with your hardware wallet.
- Select the Ethereum option.
- Click on “Generate Address” or a similar button.
- Write down the address and private key provided by the software.
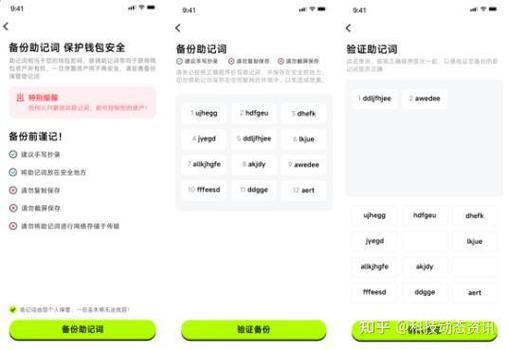
Step 4: Store Your Private Key Safely
Your private key is the key to your Ethereum wallet. If someone else obtains it, they can access your funds. To store your private key safely:
- Keep the paper with your private key in a secure, fireproof location.
- Consider using a safe deposit box at a bank.
- Make multiple copies of the private key and store them in different locations.
Conclusion
Creating an offline Ethereum wallet is a crucial step in securing your digital assets. By following this guide, you can create a hardware wallet and store your private key safely. Remember, the security of your Ethereum depends on how well you protect your private key. Take the time to research and choose the right wallet, and store your private key in a secure location.


")
