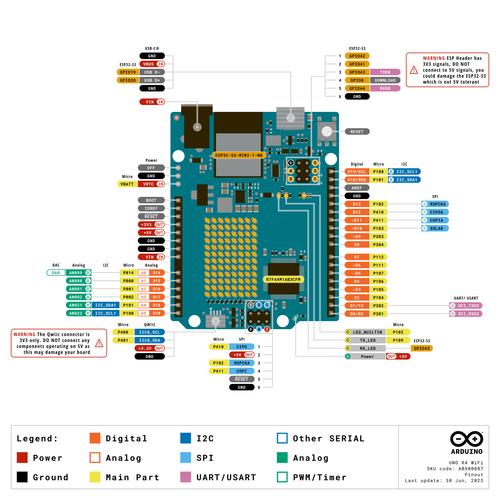
Exploring the Arduino ETH: A Comprehensive Guide for Aspiring Makers
The Arduino ETH is a powerful and versatile shield that allows you to connect your Arduino board to the internet using Ethernet. Whether you’re a beginner or an experienced maker, understanding the capabilities and features of the Arduino ETH is crucial for your projects. In this article, we will delve into the details of the Arduino ETH, covering its specifications, setup process, and potential applications.
Understanding the Arduino ETH
The Arduino ETH is designed to work with Arduino Uno, Mega, and other compatible boards. It features a W5100 Ethernet module, which provides a simple and straightforward way to connect your Arduino to the internet. The module supports TCP/IP, UDP, and other networking protocols, making it suitable for a wide range of applications.

One of the key advantages of the Arduino ETH is its ease of use. The module is plug-and-play, meaning you can simply connect it to your Arduino board and start using it without any additional setup. The module also comes with a built-in web server, which allows you to easily upload and download data from your Arduino over the internet.
Technical Specifications
Here are some of the key technical specifications of the Arduino ETH:
| Feature | Specification |
|---|---|
| Network Interface | Ethernet (10/100 Mbps) |
| Processor | W5100 Ethernet Controller |
| Memory | 32KB SRAM, 256KB Flash |
| Operating Voltage | 3.3V |
| Power Consumption | 150mA (max) |
Setting Up the Arduino ETH
Setting up the Arduino ETH is a straightforward process. Here’s a step-by-step guide to help you get started:
- Connect the Arduino ETH shield to your Arduino board.
- Connect an Ethernet cable to the shield’s Ethernet port.
- Connect the other end of the Ethernet cable to your router or modem.
- Upload a simple sketch to your Arduino board to test the connection.
For testing the connection, you can use the following sketch:

void setup() { Serial.begin(9600); while (!Serial) { ; // wait for serial port to connect } if (Ethernet.begin(mac) == 0) { Serial.println("Failed to configure Ethernet using DHCP"); // no point in carrying on, so do nothing forevermore: for (;;) ; } Serial.print("IP Address: "); Serial.println(Ethernet.localIP());}void loop() { // nothing to do here}
Applications of the Arduino ETH
The Arduino ETH can be used in a variety of applications, including:
-
Home automation: Control your home appliances and devices remotely using the internet.
-
Remote monitoring: Monitor environmental conditions, such as temperature and humidity, in real-time.
-
IoT projects: Build IoT devices that can communicate with other devices over the internet.
-
Robotics: Control your robot remotely using the internet.
Conclusion
The Arduino ETH is a valuable addition to your Arduino toolkit, providing a simple and efficient way to connect your Arduino to the internet. With its wide range of applications and user-friendly design, the Arduino ETH is an excellent choice for makers of all skill levels. By following this guide, you should now have a solid understanding of the Arduino ETH and be ready to embark on your next project.


