
Add ETH Mainnet to MetaMask: A Comprehensive Guide
MetaMask is a popular cryptocurrency wallet that allows users to manage their Ethereum-based assets. One of the key features of MetaMask is the ability to connect to different blockchains, including the Ethereum mainnet. In this guide, we will walk you through the process of adding the Ethereum mainnet to your MetaMask wallet, ensuring a seamless experience for managing your ETH.
Understanding the Ethereum Mainnet
The Ethereum mainnet is the primary network where all Ethereum transactions and smart contracts are executed. It is the original and most widely used Ethereum network, and it is where the majority of ETH transactions occur. Before adding the mainnet to your MetaMask, it’s important to understand its significance.

| Feature | Description |
|---|---|
| Decentralization | The mainnet is decentralized, meaning it is not controlled by any single entity. |
| Security | The mainnet has robust security measures to protect against fraud and hacking. |
| Scalability | The mainnet is designed to handle a large number of transactions, but it can face scalability challenges. |
Now that you have a better understanding of the Ethereum mainnet, let’s move on to the process of adding it to your MetaMask wallet.
Adding the Ethereum Mainnet to MetaMask
Adding the Ethereum mainnet to your MetaMask wallet is a straightforward process. Follow these steps to ensure a smooth experience:
- Open your MetaMask wallet and click on the network dropdown menu located at the top right corner of the page.
- Select “Custom RPC” from the dropdown menu.
- In the “RPC URL” field, enter the following URL: https://mainnet.infura.io/v3/YOUR_INFURA_PROJECT_ID. Replace “YOUR_INFURA_PROJECT_ID” with your actual Infura project ID.
- In the “Chain ID” field, enter 1.
- In the “Currency” field, select “Ethereum (ETH)”.
- In the “Symbol” field, enter “ETH”.
- In the “Explorer URL” field, enter https://etherscan.io.
- Click “Save” to add the Ethereum mainnet to your MetaMask wallet.
Once you have added the Ethereum mainnet, you should see it listed in the network dropdown menu. You can now connect to the mainnet and interact with Ethereum-based applications and services.
Best Practices for Managing ETH on the Mainnet
Managing your ETH on the Ethereum mainnet requires careful consideration. Here are some best practices to help you stay safe and efficient:
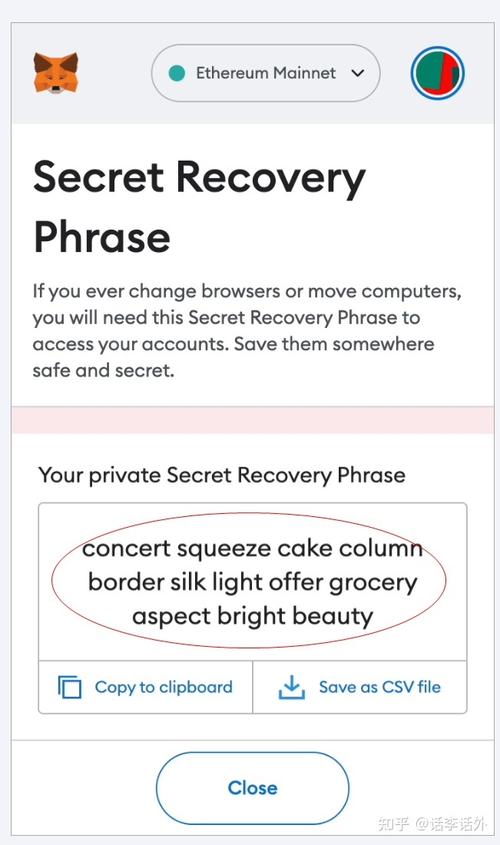
- Backup Your Wallet: Always backup your MetaMask wallet to prevent loss of funds. You can export your private keys or use a hardware wallet for added security.
- Use a Strong Password: Set a strong password for your MetaMask wallet to prevent unauthorized access.
- Keep Your Private Keys Private: Never share your private keys with anyone, as they can be used to access your funds.
- Stay Informed: Keep up-to-date with the latest Ethereum news and updates to stay informed about potential security threats and network changes.
- Use a Gas Tracker: Monitor your gas fees to ensure you are not overpaying for transactions.
By following these best practices, you can manage your ETH on the Ethereum mainnet with confidence and security.
Conclusion
Adding the Ethereum mainnet to your MetaMask wallet is a crucial step in managing your ETH. By following the steps outlined in this guide, you can easily connect to the mainnet and interact with Ethereum-based applications and services. Remember to stay informed and follow best practices to ensure a safe and efficient experience.


")
