
Add ETH, MATIC, and MetaMask: A Comprehensive Guide
Embarking on the journey of cryptocurrency can be both exciting and daunting. One of the key steps in this journey is to add Ethereum (ETH), Polygon (MATIC), and set up MetaMask, a popular cryptocurrency wallet. In this guide, we will delve into the process of adding these assets to your MetaMask wallet, ensuring a seamless and secure experience.
Understanding Ethereum (ETH)
Ethereum is a decentralized platform that runs smart contracts: applications that run exactly as programmed without any possibility of downtime, fraud, or third-party interference. ETH is the native cryptocurrency of the Ethereum network and is used to pay for transaction fees and services on the network.

Understanding Polygon (MATIC)
Polygon is a layer-2 scaling solution for Ethereum that aims to increase the speed and reduce the cost of transactions on the Ethereum network. MATIC is the native token of the Polygon network and is used to pay for transaction fees on the Polygon chain.
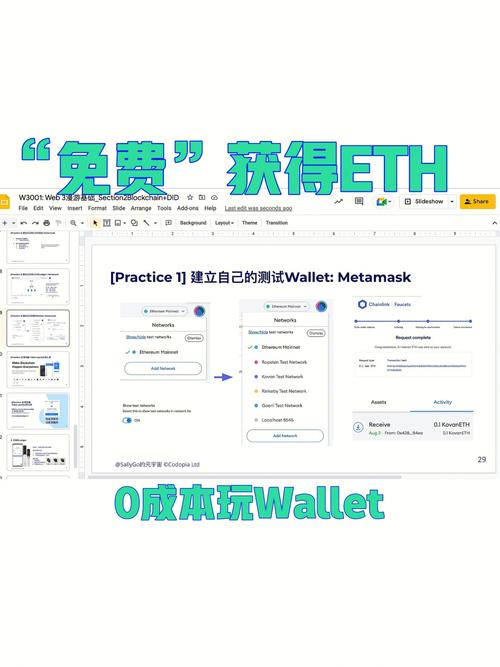
Setting Up MetaMask
MetaMask is a popular cryptocurrency wallet that allows users to store, send, and receive Ethereum and other ERC-20 tokens. To set up MetaMask, follow these steps:
- Visit metamask.io/download.html and download the MetaMask extension for your preferred browser.
- Open the extension and click on the “Create a new wallet” button.
- Follow the on-screen instructions to create a new wallet. Make sure to write down your seed phrase and keep it in a safe place. This phrase is crucial for accessing your wallet and should not be shared with anyone.
- Once your wallet is set up, you will be prompted to choose a network. For Ethereum and MATIC, select the Ethereum network.
Adding ETH to MetaMask
Once your MetaMask wallet is set up and you have selected the Ethereum network, you can add ETH to your wallet. Here’s how:
- Click on the “Ethereum” network in the MetaMask extension.
- Click on the “Receive” button to view your ETH address.
- Copy your ETH address and paste it into the “Recipient” field of the Ethereum wallet or exchange from which you want to send ETH.
- Enter the amount of ETH you wish to send and click “Send” or “Confirm” to complete the transaction.
Adding MATIC to MetaMask
Adding MATIC to your MetaMask wallet is a straightforward process. Follow these steps:
- Click on the “Add Token” button in the MetaMask extension.
- Paste the MATIC token contract address, which is 0x0000000000000000000000000000000000001000.
- Enter the token symbol (MATIC) and token name (Polygon) in the respective fields.
- Click “Add Token” to add MATIC to your wallet.
- Click on the “Receive” button to view your MATIC address.
- Copy your MATIC address and paste it into the “Recipient” field of the MATIC wallet or exchange from which you want to send MATIC.
- Enter the amount of MATIC you wish to send and click “Send” or “Confirm” to complete the transaction.
Understanding Gas Fees
When sending ETH or MATIC, you will be prompted to pay a gas fee. Gas fees are paid in ETH and are used to compensate the network for processing your transaction. The gas fee can vary depending on the network congestion and the complexity of the transaction. It’s important to check the current gas fees before sending your transaction to avoid high fees.
Security Tips
While using MetaMask and adding cryptocurrencies like ETH and MATIC, it’s crucial to prioritize security:
- Always keep your seed phrase safe and private.
- Be cautious of phishing attempts and only use the official MetaMask website and extension.
- Regularly update your MetaMask extension to ensure you have the latest security features.
Conclusion
Adding ETH and MATIC to your MetaMask wallet is a straightforward process that can be completed in a few simple


")
