
Add ETH Token to BSC Metamask: A Comprehensive Guide
Adding an Ethereum (ETH) token to your Binance Smart Chain (BSC) Metamask wallet is a straightforward process that can be completed in a few simple steps. Whether you’re a seasoned crypto enthusiast or a beginner, this guide will walk you through the entire process, ensuring that you can easily manage your ETH tokens on the BSC network.
Understanding the Process
Before diving into the steps, it’s important to understand the process behind adding an ETH token to your BSC Metamask wallet. Essentially, you’ll be adding a custom token to your wallet, which will allow you to view and manage your ETH tokens on the BSC network.

Here’s a brief overview of the process:
- Locate the token’s contract address
- Enter the contract address in your Metamask wallet
- Set the token’s decimals and symbol
- Save the token to your wallet
Step-by-Step Guide
Now that you have a basic understanding of the process, let’s dive into the step-by-step guide to adding an ETH token to your BSC Metamask wallet.
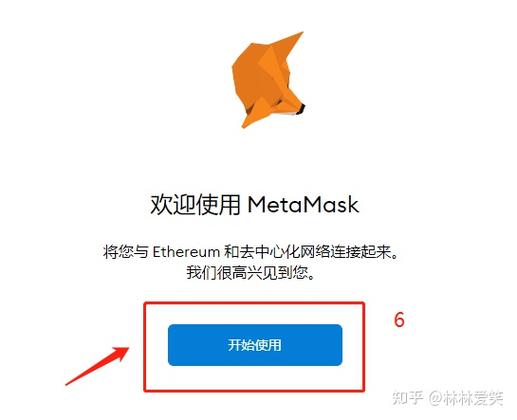
Step 1: Open Your BSC Metamask Wallet
First, open your BSC Metamask wallet. If you haven’t already installed the wallet, you can download it from the official website (https://metamask.io/).
Step 2: Access the Token Settings
Once your wallet is open, click on the “Add Token” button located in the top right corner of the wallet interface. This will open a new window where you can add a custom token.
Step 3: Enter the Contract Address
In the new window, you’ll see a field labeled “Contract Address.” This is where you’ll enter the contract address of the ETH token you want to add. You can find the contract address on the token’s official website or by searching for the token on a blockchain explorer like Etherscan (https://etherscan.io/).
For example, the contract address for the Binance Coin (BNB) token on the BSC network is 0xb8c77482e45f1f44de1745f52c74426c631bdd52. Enter this address in the “Contract Address” field.
Step 4: Set the Token’s Decimals and Symbol
Below the “Contract Address” field, you’ll see two more fields: “Decimals” and “Symbol.” The “Decimals” field represents the number of decimal places in the token’s value, while the “Symbol” field is the abbreviation for the token.
For ETH, the decimals are 18, and the symbol is “ETH.” Enter these values in the respective fields.
Step 5: Save the Token
After entering the contract address, decimals, and symbol, click the “Save” button. This will add the ETH token to your BSC Metamask wallet, and you’ll now be able to view and manage your ETH tokens on the BSC network.
Additional Tips
Here are a few additional tips to keep in mind when adding an ETH token to your BSC Metamask wallet:
- Double-check the contract address before entering it to avoid adding the wrong token.
- Make sure you’re using the correct decimals and symbol for the token.
- Keep your Metamask wallet secure by enabling two-factor authentication (2FA) and using a strong password.
Conclusion
Adding an ETH token to your BSC Metamask wallet is a simple and straightforward process that can be completed in just a few steps. By following this guide, you’ll be able to easily manage your ETH tokens on the BSC network and take advantage of the growing ecosystem of decentralized applications (dApps) and services.
| Step | Action |
|---|---|
| 1 | Open your BSC Metamask wallet |
| 2 | Click on the “Add Token” button
|


")
