Deposit ETH to Trust Wallet: A Comprehensive Guide
Managing your Ethereum (ETH) securely is crucial in the ever-evolving world of cryptocurrencies. Trust Wallet, a popular mobile wallet, offers a seamless way to store, send, and receive ETH. In this detailed guide, we’ll walk you through the process of depositing ETH into your Trust Wallet, ensuring a smooth and secure experience.
Understanding Trust Wallet
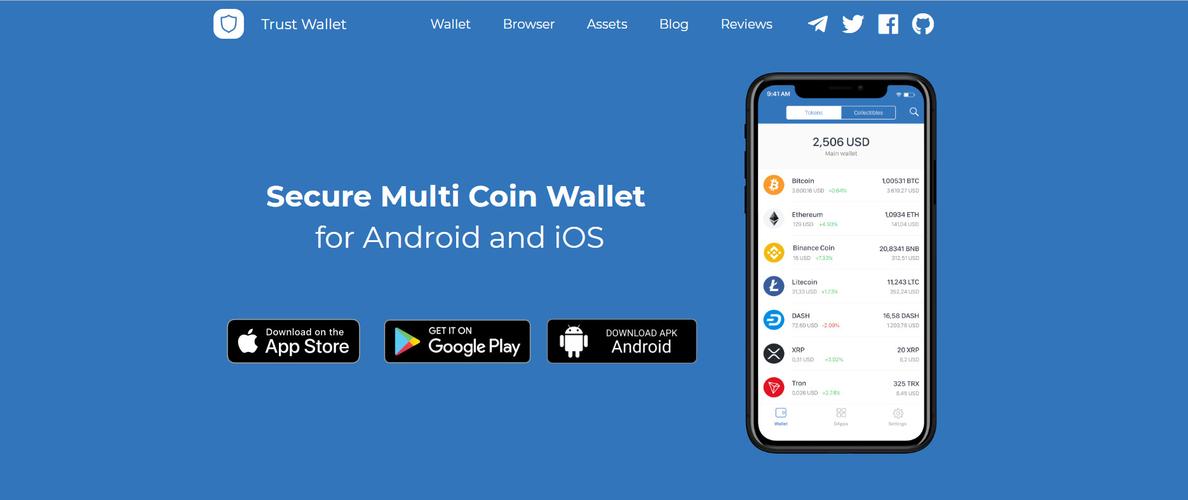
Trust Wallet is a non-custodial wallet, meaning you have complete control over your private keys. This is a significant advantage over custodial wallets, as you’re not relying on a third party to hold your funds. Trust Wallet supports a wide range of cryptocurrencies, including Ethereum, Bitcoin, and various ERC-20 tokens.

Setting Up Your Trust Wallet
Before you can deposit ETH into your Trust Wallet, you need to set it up. Here’s a step-by-step guide:
- Download the Trust Wallet app from the App Store or Google Play Store.
- Open the app and create a new wallet. You’ll be prompted to set a password and write down a 12-word recovery phrase. Keep this phrase safe, as it’s the only way to recover your wallet if you lose access to the app.
- Once your wallet is set up, you can start adding assets. Tap on the “+” icon in the bottom menu and select “Add Token.” Enter the Ethereum address for ETH and tap “Add Token.” This will add Ethereum to your wallet.
Depositing ETH into Your Trust Wallet
Now that your Trust Wallet is set up and Ethereum is added, it’s time to deposit ETH. Here’s how to do it:
- Open the Trust Wallet app and tap on the Ethereum icon.
- On the next screen, you’ll see your Ethereum address. This is the address you’ll use to send ETH to your wallet.
- Copy the address or scan the QR code using another device or a third-party wallet.
- Open your preferred Ethereum wallet or exchange and send ETH to the address you copied. Make sure to use the correct amount and network fee.
- Once the transaction is confirmed on the Ethereum blockchain, the ETH will appear in your Trust Wallet.
Understanding Transaction Fees
When depositing ETH, you’ll need to pay a transaction fee, known as a gas fee. This fee is paid to miners for processing your transaction. The gas fee can vary depending on the network’s congestion. Here’s a table to help you understand the different gas fee levels:
| Gas Fee Level | Description | Average Cost (in USD) |
|---|---|---|
| Low | Slowest confirmation time | $0.01 – $0.05 |
| Medium | Standard confirmation time | $0.05 – $0.10 |
| High | Fastest confirmation time | $0.10 – $0.20 |
Choose the gas fee level based on your needs. Keep in mind that higher gas fees will result in faster confirmations, while lower gas fees will take longer.

Monitoring Your Transactions
After depositing ETH into your Trust Wallet, it’s essential to monitor your transactions. Here’s how to do it:
- Open the Trust Wallet app and tap on the Ethereum icon.
- On the next screen, tap on “Transactions.” You’ll see a list of all your Ethereum transactions.
- Tap on a specific transaction to view details, such as the sender, receiver, amount, and transaction fee.
Monitoring your transactions helps ensure that your ETH is secure and that the transaction was processed correctly.
Conclusion
Depositing ETH into your Trust Wallet is a straightforward process. By following this guide, you can ensure a smooth and secure experience. Remember to keep your recovery phrase safe and monitor your transactions to stay informed about your ETH holdings.


