
Add ETH to Polygon Network Metamask: A Comprehensive Guide
Adding Ethereum (ETH) to the Polygon Network on your MetaMask wallet is a straightforward process that can be completed in a few simple steps. Whether you’re a seasoned crypto enthusiast or a beginner, this guide will walk you through the entire process, ensuring that you can easily manage your ETH on the Polygon Network.
Understanding Polygon Network
Polygon is a layer-2 scaling solution for Ethereum that aims to improve the scalability, cost, and user experience of Ethereum-based applications. By adding ETH to the Polygon Network, you can take advantage of lower transaction fees and faster confirmation times compared to the Ethereum mainnet.

Setting Up MetaMask
Before you can add ETH to the Polygon Network, you need to have MetaMask installed and set up. If you haven’t already, follow these steps to set up your MetaMask wallet:
- Visit metamask.io/download.html and download the MetaMask extension for your preferred browser.
- Follow the installation instructions for your browser to install the extension.
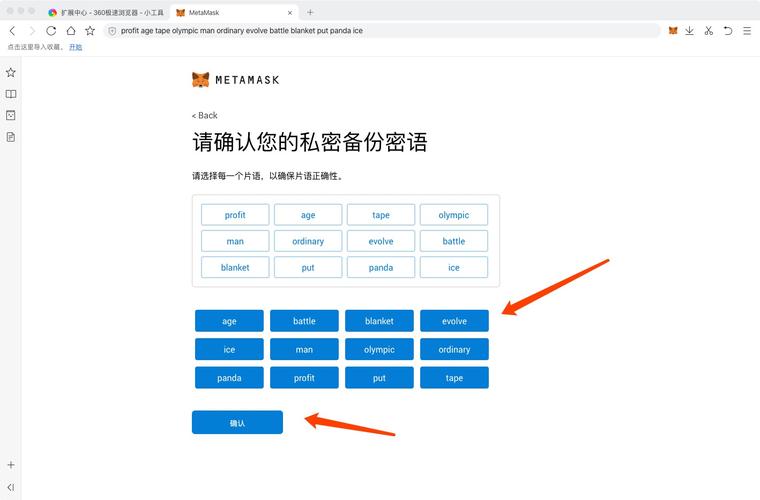
- Open the MetaMask extension and click on the “Create a wallet” button.
- Follow the prompts to create a new wallet and securely store your private key.
Adding Polygon Network to MetaMask
Once you have MetaMask set up, you need to add the Polygon Network to your wallet. Here’s how to do it:
- Open the MetaMask extension and click on the network dropdown menu in the top right corner.
- Select “Custom RPC” from the dropdown menu.
- In the “RPC URL” field, enter the following URL:
https://polygon-rpc.com - In the “Chain ID” field, enter the Polygon chain ID, which is
0x13881. - In the “Currency” field, select “Ethereum (ETH)”.
- In the “Symbol” field, enter “MATIC” (the native token of the Polygon Network).
- In the “Explorer URL” field, enter the following URL: https://polygonscan.com
- Click “Save” to add the Polygon Network to your MetaMask wallet.
Adding ETH to the Polygon Network
Now that you have the Polygon Network added to your MetaMask wallet, you can add ETH to your wallet. Here are the steps to do so:
- Go to a cryptocurrency exchange that supports Ethereum (ETH) and Polygon (MATIC). Some popular exchanges include Binance, Coinbase, and Kraken.
- Deposit ETH to your exchange account.
- Once your ETH is available in your exchange account, click on the “Send” or “Withdraw” button.
- Enter your MetaMask wallet address as the recipient.
- Select the Polygon Network as the network for the transaction.
- Enter the amount of ETH you want to send.
- Review the transaction details and click “Send” to transfer your ETH to the Polygon Network.
Verifying Your ETH on the Polygon Network
After you’ve sent your ETH to the Polygon Network, you’ll need to verify that the transaction has been processed. Here’s how to do it:
- Open the MetaMask extension and click on the “Account” tab.
- Look for the ETH balance in your wallet. It should now reflect the amount you sent to the Polygon Network.
- Go to Polygonscan and enter your MetaMask wallet address in the search bar.
- Review the transaction history for your wallet. You should see the transaction that transferred your ETH to the Polygon Network.
Conclusion
Adding ETH to the Polygon Network on your MetaMask wallet is a simple and efficient way to take advantage of the benefits that Polygon offers. By following the steps outlined in this guide, you can easily manage your ETH on the Polygon Network and enjoy lower transaction fees and faster confirmation times.


")
