Understanding Arduino ETH Serial: A Comprehensive Guide for You
Are you intrigued by the world of Arduino and looking to expand your knowledge with the ETH Serial? You’ve come to the right place. In this detailed guide, we will delve into the intricacies of Arduino ETH Serial, exploring its features, applications, and how to get started. So, let’s dive in!
What is Arduino ETH Serial?
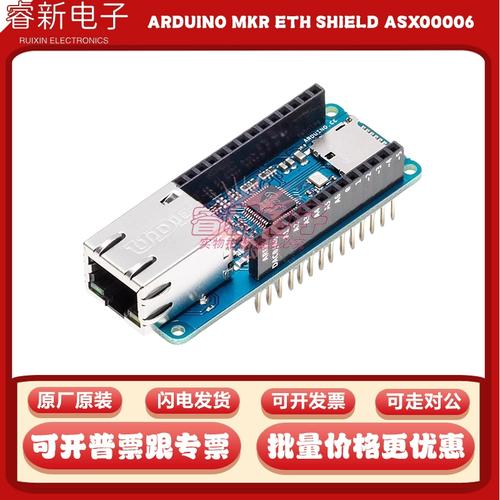
The Arduino ETH Serial is a module that allows your Arduino board to connect to a local area network (LAN) using an Ethernet cable. It is designed to work with Arduino Uno, Mega, and other compatible boards. The ETH Serial module is based on the W5100 Ethernet chip, which provides a simple and efficient way to add Ethernet connectivity to your Arduino project.

Features of Arduino ETH Serial
Here are some of the key features of the Arduino ETH Serial:
| Feature | Description |
|---|---|
| W5100 Ethernet Chip | Supports TCP/IP, UDP, and SMTP protocols, allowing for various network applications. |
| 10/100 Mbps Ethernet Connectivity | High-speed data transfer over Ethernet. |
| Simple API | Easy to use and integrate with Arduino sketches. |
| Power Supply | Operates on 3.3V and can be powered via the Arduino board or an external power supply. |
Applications of Arduino ETH Serial
The Arduino ETH Serial module can be used in a variety of applications, including:
- Home automation systems
- Remote monitoring and control
- IoT projects
- Networked sensors and devices
Setting Up Arduino ETH Serial
Before you can start using the Arduino ETH Serial, you need to set it up. Here’s a step-by-step guide:
- Connect the ETH Serial module to your Arduino board using the provided headers.
- Connect an Ethernet cable to the ETH Serial module and plug the other end into your router or switch.
- Upload the Arduino IDE to your computer and install the necessary libraries for the ETH Serial module.
- Write your Arduino sketch to communicate over the network.
- Upload the sketch to your Arduino board and test the connection.
Writing a Simple Sketch
Let’s create a simple sketch to send and receive data over the network using the Arduino ETH Serial. In this example, we will send a message to a server and receive a response.
include <SPI.h>include <Ethernet.h>byte mac[] = { 0xDE, 0xAD, 0xBE, 0xEF, 0xFE, 0xED };byte ip[] = { 192, 168, 1, 100 };byte gateway[] = { 192, 168, 1, 1 };byte subnet[] = { 255, 255, 255, 0 };EthernetClient client;void setup() { Serial.begin(9600); Ethernet.begin(mac, ip, gateway, subnet);}void loop() { if (client.connect("192.168.1.101", 80)) { Serial.println("Connected to server"); client.println("GET / HTTP/1.1"); client.println("Host: 192.168.1.101"); client.println("Connection: close"); client.println(); } while (client.available()) { char c = client.read(); Serial.print(c); } if (!client.connected()) { Serial.println("Disconnected from server"); client.stop(); } delay(1000);}
Conclusion
Now that you have a better understanding of the Arduino ETH Serial, you can start exploring its capabilities in your projects. With its simple API and versatile features, the ETH Serial is a valuable addition to any Arduino enthusiast’s toolkit. Happy hacking!


