
Add Test ETH to MetaMask: A Comprehensive Guide
MetaMask, the popular Ethereum wallet, is a go-to choice for many crypto enthusiasts. Whether you’re a seasoned investor or a beginner exploring the world of decentralized finance, adding Test ETH to your MetaMask account can be a crucial step. In this detailed guide, I’ll walk you through the process of adding Test ETH to your MetaMask wallet, covering various aspects to ensure you have a seamless experience.
Understanding Test ETH
Before diving into the process, it’s essential to understand what Test ETH is. Test ETH is a digital currency used for testing purposes on the Ethereum network. It’s identical to regular ETH but is not worth any real value. Test ETH is particularly useful for developers and users who want to experiment with smart contracts and decentralized applications (DApps) without risking real money.

Why Add Test ETH to MetaMask?
Adding Test ETH to your MetaMask wallet offers several benefits:
-
Testing DApps: You can test out DApps without the risk of losing real ETH.
-
Developing Smart Contracts: Developers can deploy and test smart contracts using Test ETH.
-
Understanding Ethereum: It’s a great way to learn about the Ethereum network and its functionalities.
Setting Up MetaMask
Before you can add Test ETH to your MetaMask wallet, you need to have the wallet installed. Here’s a step-by-step guide to setting up MetaMask:
-
Visit the MetaMask website (metamask.io) and click on the “Get MetaMask” button.
-
Choose your preferred browser extension (Chrome, Firefox, Brave, etc.) and click on the respective link.
-
Follow the instructions to install the MetaMask extension in your browser.
-
Open the MetaMask extension and click on the “Create a new wallet” button.
-
Set up your wallet by creating a strong password and writing down your seed phrase. Keep this information safe, as it’s crucial for accessing your wallet.
-
Click on “I’ve written down my seed phrase” to confirm.
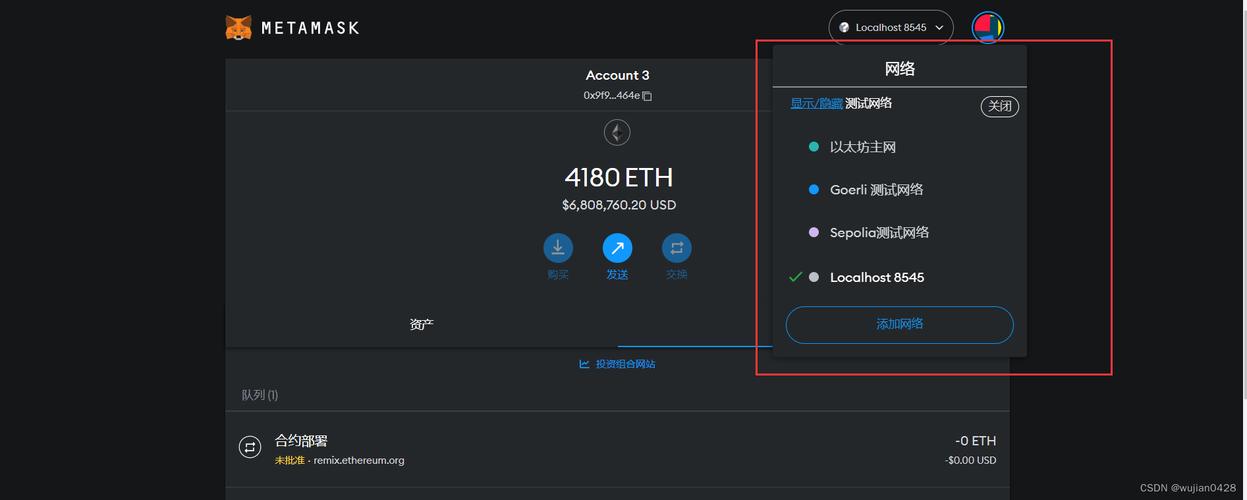
Adding Test ETH to MetaMask
Now that you have MetaMask set up, let’s proceed with adding Test ETH to your wallet:
-
Open the MetaMask extension in your browser.
-
Click on the “Network” tab at the top of the extension.
-
Click on “Custom RPC” and enter the following details:
-
Replace “YOUR_INFURA_PROJECT_ID” with your Infura project ID. If you don’t have one, you can sign up for a free account at infura.io.
-
Click on “Save” to save the custom network.
-
Go back to the main screen of the MetaMask extension and click on the “Account” tab.
-
Click on the “Receive” button to view your wallet address.
-
Copy your wallet address and paste it into the “To” field of the Test ETH faucet website (e.g., faucet.rinkeby.io).
-
Enter the amount of Test ETH you want to receive (e.g., 1 Test ETH) and
| Parameter | Value |
|---|---|
| Name | Testnet |
| RPC URL | https://rinkeby.infura.io/v3/YOUR_INFURA_PROJECT_ID |
| Chain ID | 4 |
| Symbol | ETH |
| Block Explorer URL | https://rinkeby.etherscan.io |


")
